Shower Door Seal Repair Services for Property Owners
Visitors can learn about Shower Door Seal Repair services and compare local contractors who handle this work.
- - Homeowners seeking reliable local contractors for shower door seal repairs to enhance bathroom functionality.
- - Property managers needing to connect with experienced service providers for maintaining shower enclosure seals across multiple units.
- - Commercial property owners looking for local pros to handle seal repairs that prevent leaks and improve shower enclosure performance.
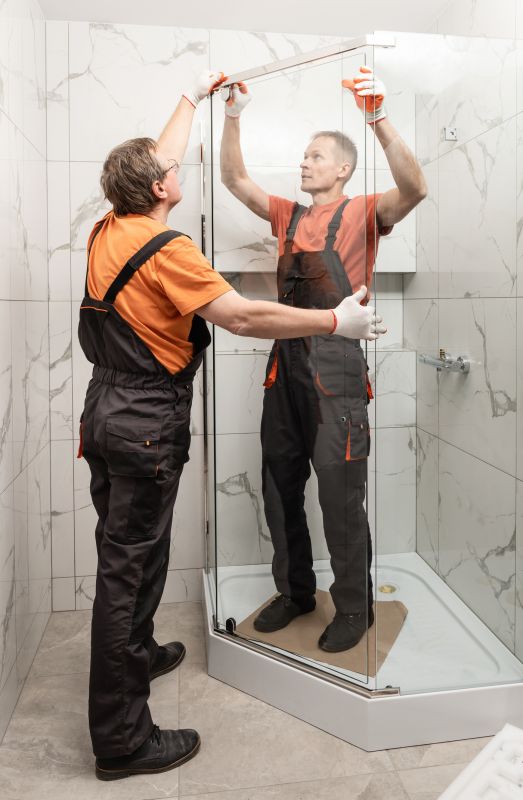
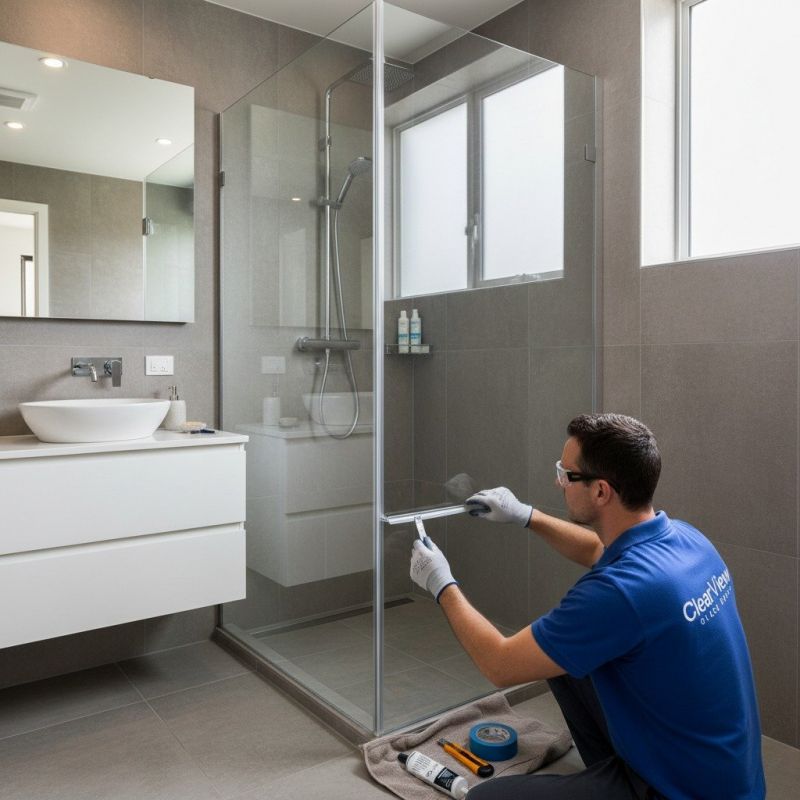
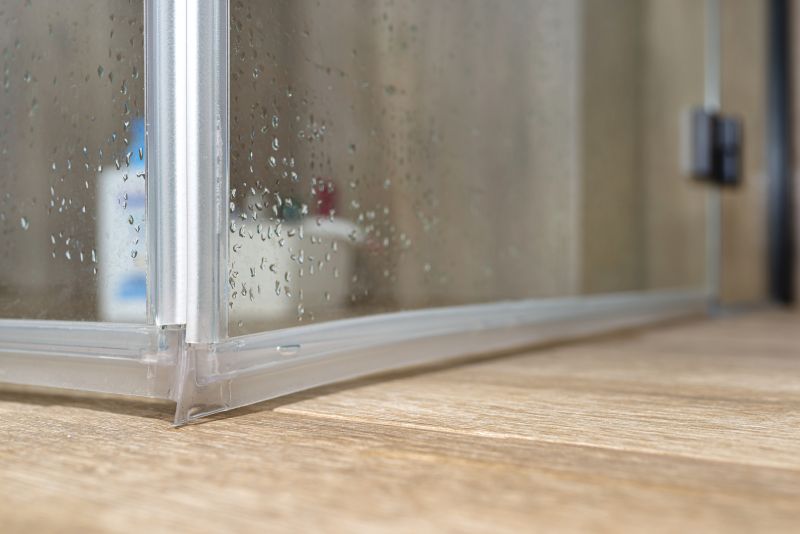
Shower door seal repair is a common service sought by property owners experiencing leaks, drafts, or difficulty closing shower doors properly. Over time, the seals around shower doors can become worn, cracked, or damaged, leading to water escaping from the shower enclosure or issues with door alignment. Local contractors specializing in shower door repairs have the expertise to assess the condition of existing seals, identify underlying problems, and perform the necessary repairs or replacements to restore proper function and prevent water damage.
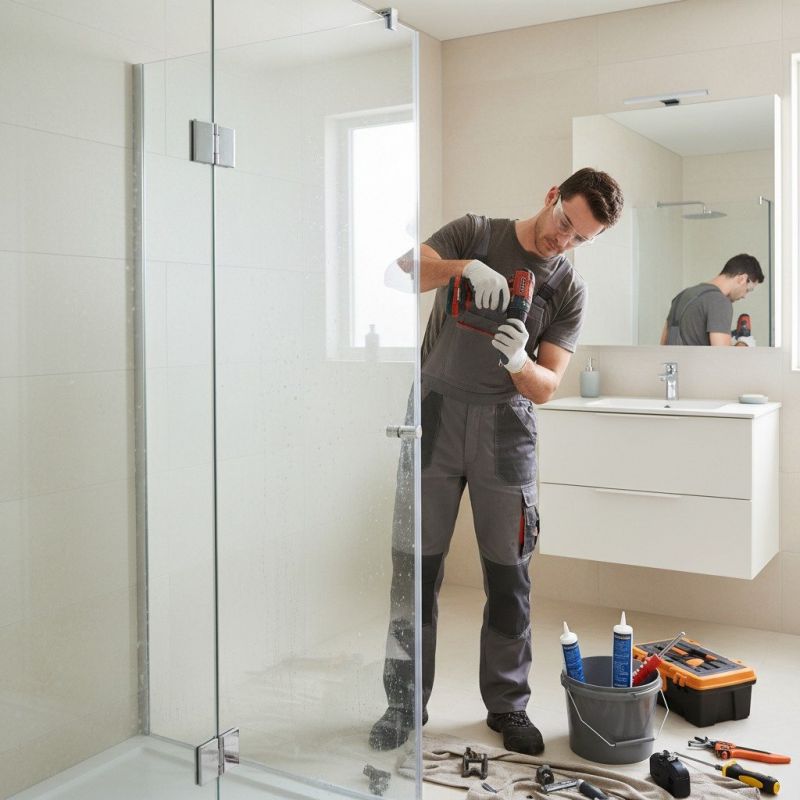
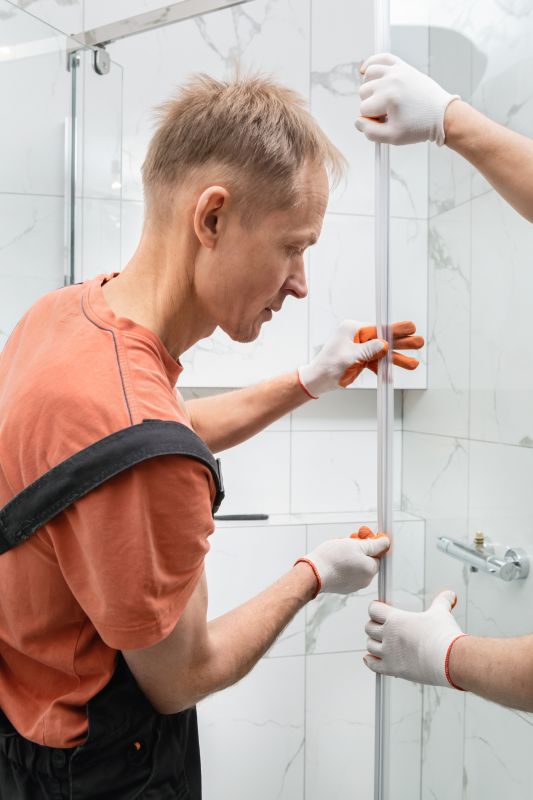
These service providers typically handle a range of related tasks, including replacing old or damaged seals, adjusting door hinges, and ensuring proper alignment for smooth operation. Property owners can expect knowledgeable local pros to use appropriate materials and techniques to address specific issues, helping to improve the durability and performance of shower enclosures. Connecting with experienced local contractors can provide practical solutions for maintaining a leak-free and functional bathroom space.
This guide helps visitors understand the key aspects of Shower Door Seal Repair services, aiding in informed decision-making. It provides insights to compare local contractors and connect with qualified service providers in the area. The information is designed to help users prepare for discussions with local pros about their specific needs.